

How Do I Create A Template In Indesign For Customers To Use
Tutorial: adding InDesign templates to assets
- five minutes to read
In that location are two main means for creating blueprint templates for your products: 1) Yous can use blueprint software, or 2) you lot tin can apply the Customer'south Canvas Template Editor. Hither you'll learn how to create a simple concern bill of fare template from scratch in Adobe InDesign and upload it to Customer's Canvas.
Tip
We are working with InDesign in this tutorial, merely yous or your designers tin also create a template in Adobe Photoshop and upload it to Client'due south Canvass.
Prerequisites
Y'all must take an account with Client'due south Canvas to complete this chore. If you don't have one already, please contact our support team.
Creating a design for Customer's Canvas in InDesign
Step 1. Open up InDesign and create a new document.
Get-go, let'southward create a new pattern in InDesign. If you lot already take some designs, yous can skip this footstep. You can likewise download the final design and go straight to Step 5. Still, we recommend that yous showtime out experimenting with simple designs and work all the way through this tutorial to ameliorate empathise the process.
Important
Keep in mind that y'all must upload the design file along with the fonts used in the design. Nosotros support the most popular font formats: TrueType and OpenType. You normally need to purchase fonts from third-party vendors, merely you lot can download some free fonts from Google Fonts or other sources.
-
In the menu, click File > Document, and and so gear up the details. When starting any project in InDesign, y'all must create a document that is sized correctly for the project.
-
Set Width and Summit according to standard dimensions. For example, the standard business card size is 3.5 x 2 inches.
-
Fix Margins and the Bleed zone. The standard margin for a business card is .125" to .25" and the recommended drain for all sides is .125". Click Create.
Tip
Nosotros ready margins to highlight the safety zone of the printable expanse. Don't place any of import text and/or design elements outside of this expanse.
-
Click the Rectangle Frame Tool in the left toolbox. Create a groundwork layer by dragging the selection border across the sail boundaries to the bleed zone.
-
Utilise the Color Picker in the left toolbox to make full in the groundwork. You can either choice the required colour or set the CMYK color model.
Tip
For more information most how to create templates in InDesign, check out our documentation.
Step 2. Create design elements and embed an image.
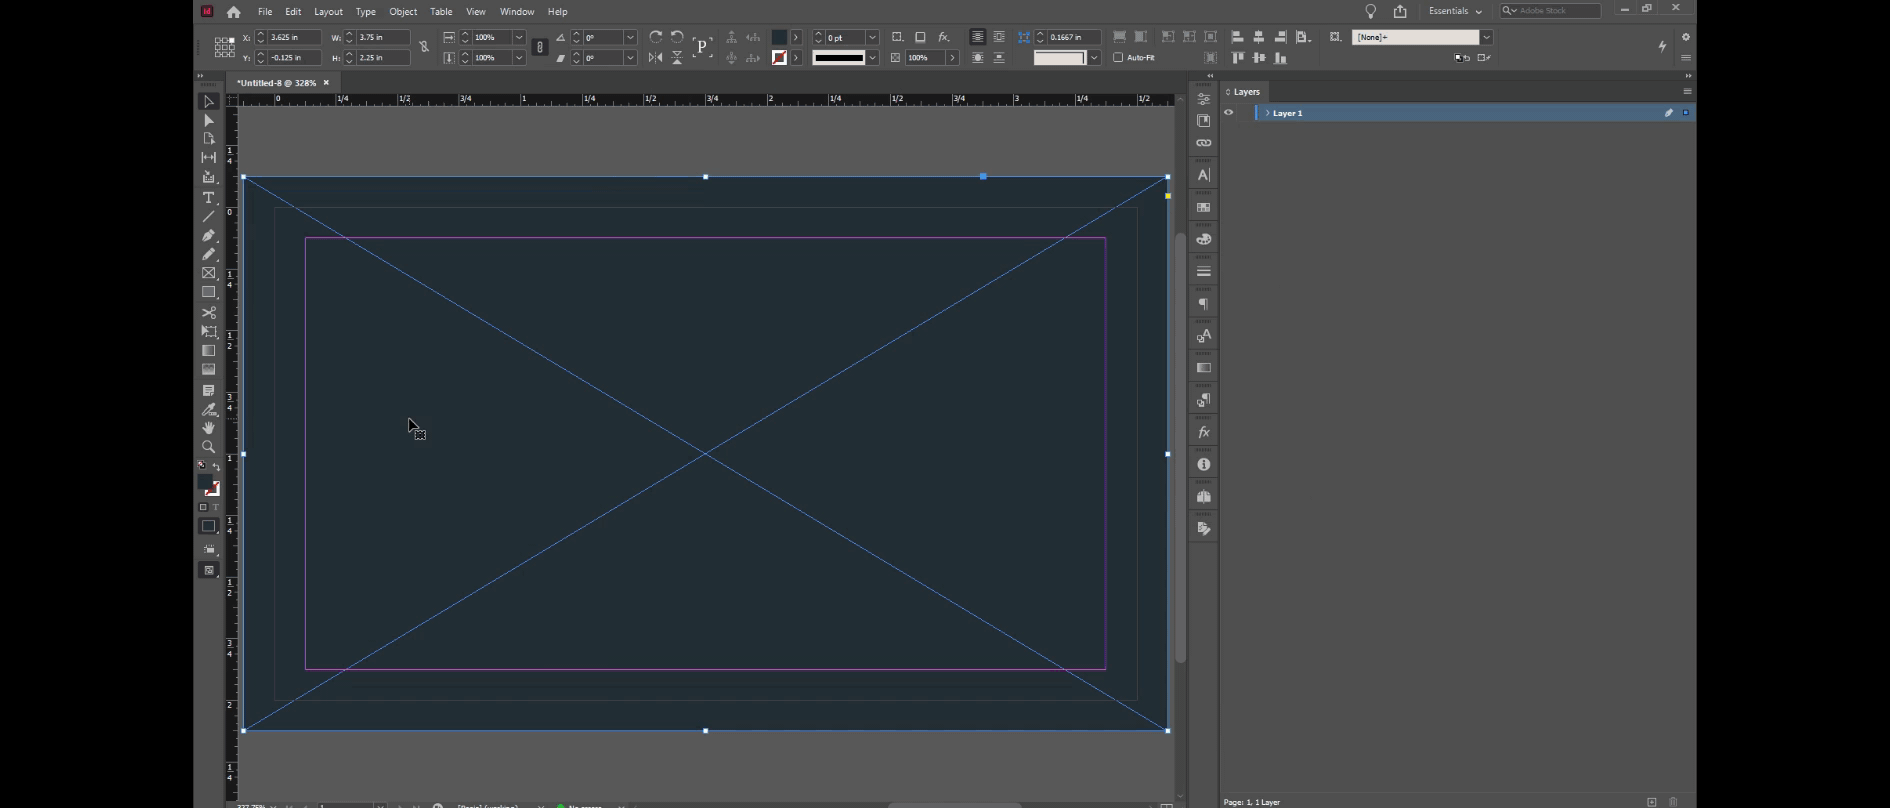
We at present have a bare design. Permit's add together some design elements to it! For this template, we will create two lines of unlike colors and sizes.
-
Click the Rectangle Tool in the left toolbox to create pattern elements. Use the Alignment Buttons in the summit toolbar to align elements.
-
Drag and drop an epitome to the location where the finish-users will insert their logos. Move the images first over the edge of the certificate, and then place them on the background.
-
Click Window > Links in the top toolbar to embed the image in the certificate. Correct-click on the required image and select Embed Link.
Important
To upload a file to Client'due south Sail, you must embed images in a file rather than utilise an external link.
Step 3. Add together text fields.
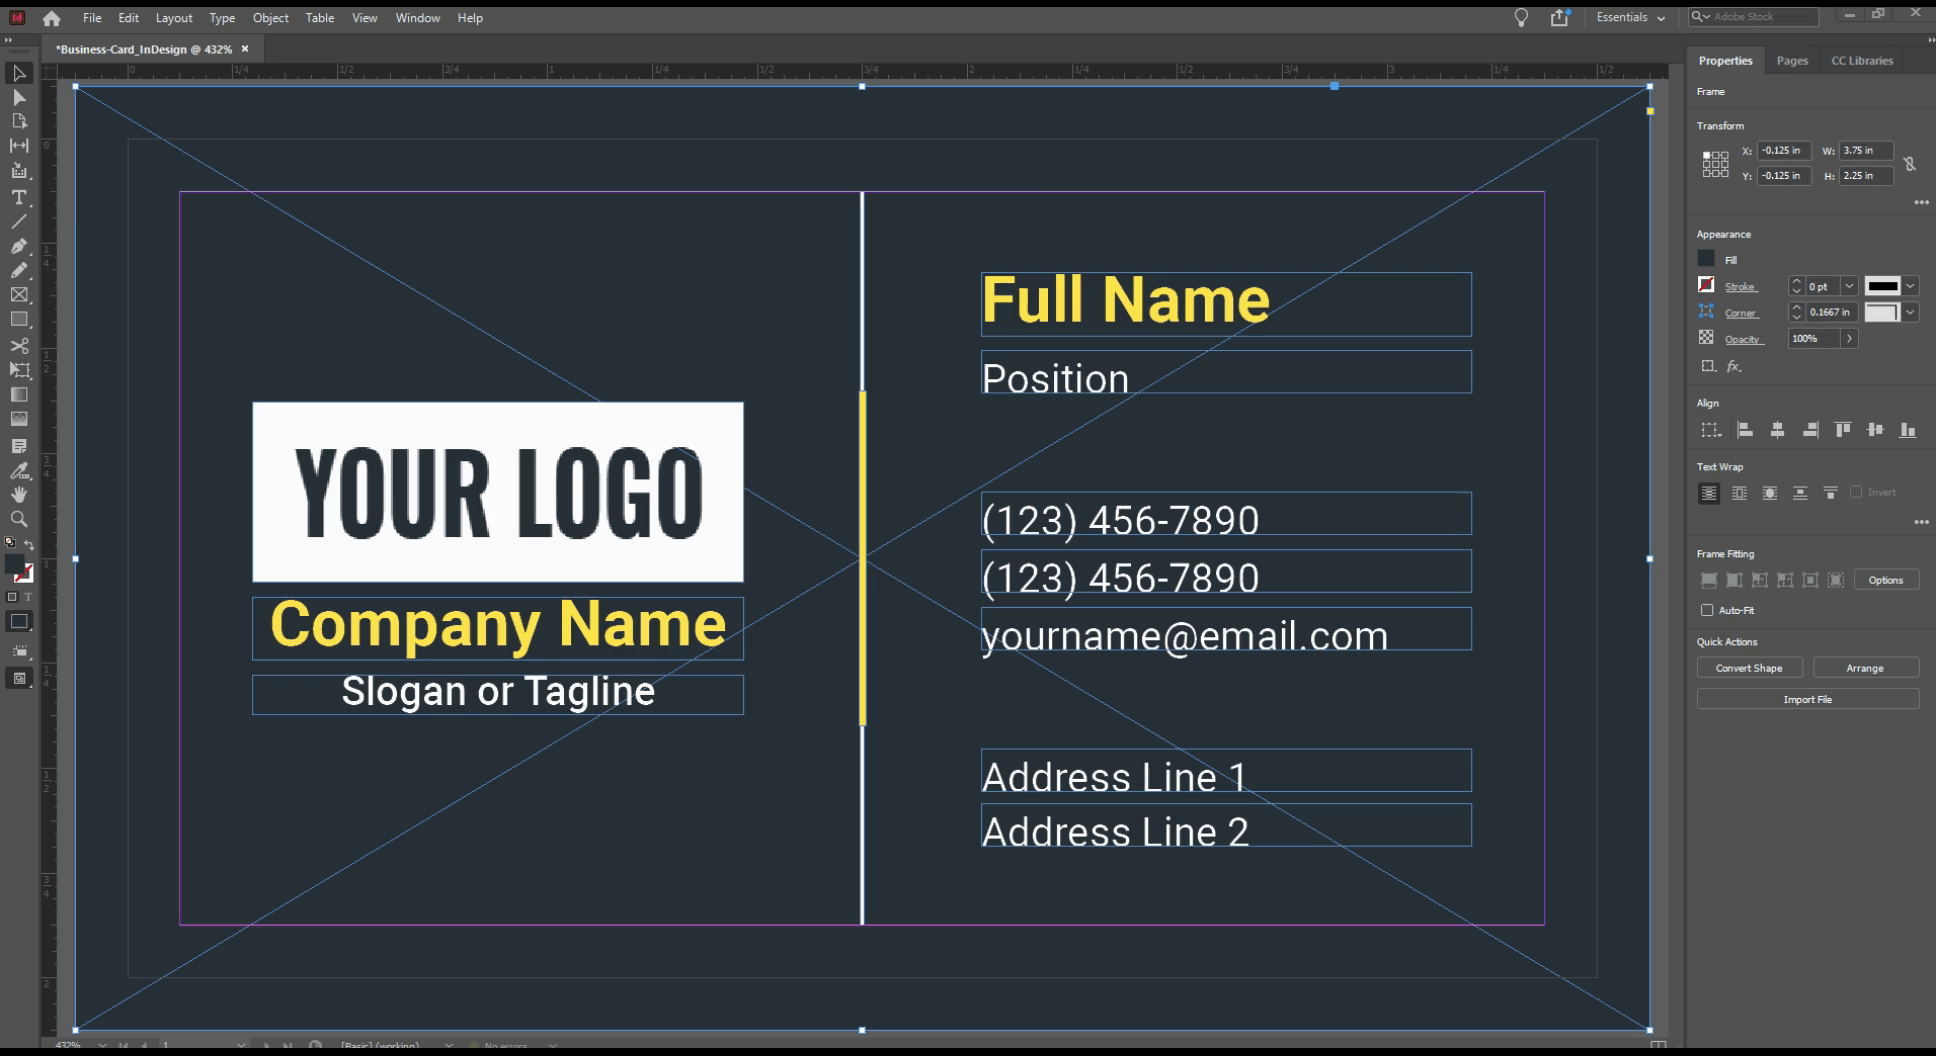
Our blueprint has some graphics at present, merely a business organisation card without whatsoever text fields isn't really a business organisation carte du jour at all. Permit's add some text!
-
Use the Type Tool in the left toolbox to add the required text fields such as a company proper name, phone number, email, etc.
-
Set up the text options. In item, remember what fonts you are using at that place. For case, let's imagine that you are using Raleway Bold for the company name and OpenSans Regular for all other fields.
-
Give your fields some meaningful names. To rename a layer, double-click the layer proper name in the Layers panel, blazon in the new proper name, and press Enter.
Step iv. Save the template and parcel files.
That'southward all in that location is to it! We at present accept a business card pattern that we can publish with Customer's Canvas.
Before uploading the InDesign file to Customer's Canvas, it's important to package the resource files used in our design like fonts, links, etc. and accept them all in the correct identify. The following steps volition guide you through this task:
- Under the File menu, select Package.
- Click the Package button in the popup window.
- Click Go on.
- Choose where you desire to salve the packaged files on your computer.
- Click Package.
You lot can also utilise the keyboard shortcut Ctrl+Alt+Shift+P.
Important
Never relieve your work equally INDD files! Customer's Canvas only supports the IDML format
Step 5. Upload files to Client's Canvas.
Earlier uploading your design, brand sure that y'all upload all of the fonts y'all are using to your Customer'due south Canvas instance. To do and so, get to your Customer's Canvas business relationship, and in the navigation bar, select Assets > Fonts. If you don't meet your fonts, drag and drop them in that location. You may upload them to any folder in your Fonts section.
It's time to upload the IDML file. In the navigation bar, select Assets > Designs. Click New to create a new folder.
Create a folder named Sample. Right-click and import the IDML file or merely drag and drop it. Click Close.
Warning
If at that place aren't enough fonts to import an IDML file, an error notification will prompt you with a list of missing fonts. If you did upload a required font but withal encounter an mistake notification, make sure that the Postscript Name of the font on your automobile is the same as the Postscript Proper noun of the uploaded font.
Check out how to edit designs with Template Editor or proceed to the side by side nugget type – mockups.

How Do I Create A Template In Indesign For Customers To Use,
Source: https://customerscanvas.com/help/admin-guide/manage-assets/design/tutorial-indesign.html
Posted by: williamsthelover1938.blogspot.com
0 Response to "How Do I Create A Template In Indesign For Customers To Use"
Post a Comment